[et_pb_section fb_built=”1″ theme_builder_area=”post_content” _builder_version=”4.27.4″ _module_preset=”default”][et_pb_row _builder_version=”4.18.0″ _module_preset=”default” width=”100%” custom_margin=”|||0px|false|false” global_colors_info=”{}” theme_builder_area=”post_content”][et_pb_column type=”4_4″ _builder_version=”4.18.0″ _module_preset=”default” global_colors_info=”{}” theme_builder_area=”post_content”][et_pb_code _builder_version=”4.27.4″ _module_preset=”default” global_colors_info=”{}” theme_builder_area=”post_content”]
What You Need:
Steps:
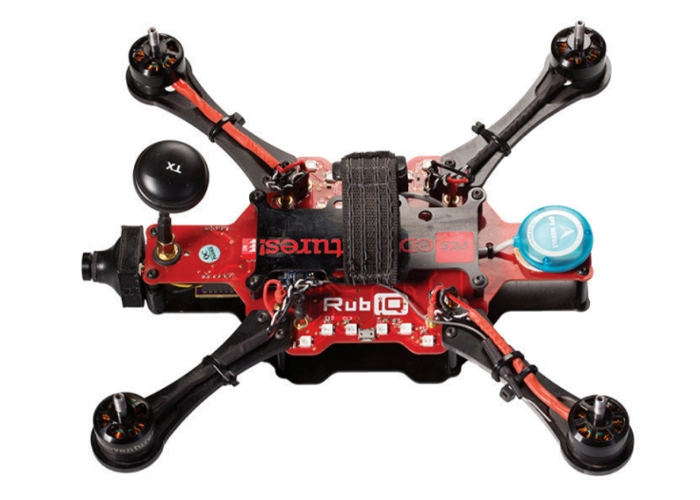
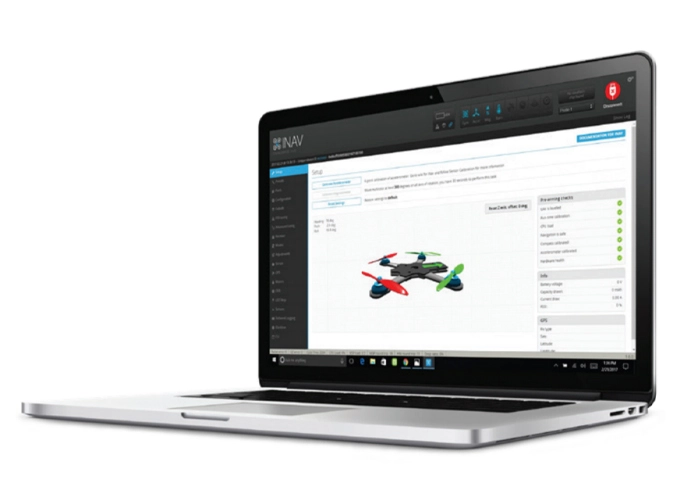
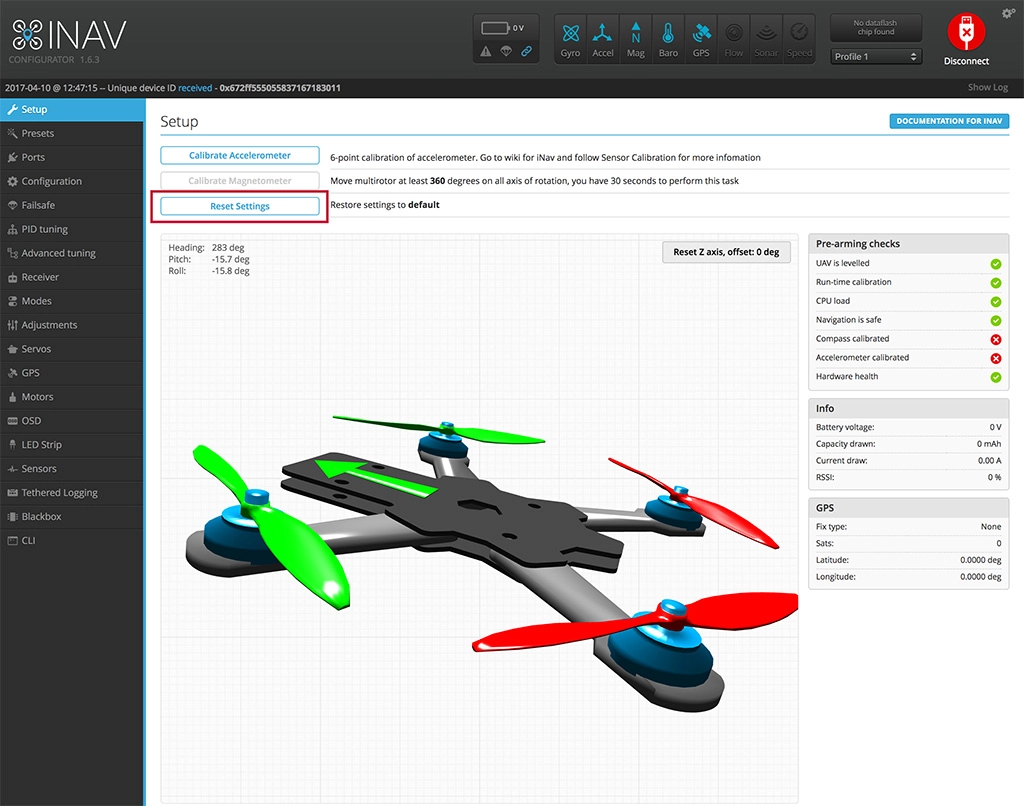
If RubiQ isn’t responding to your commands or if she’s acting out, one of the first steps you can take to return her to factory settings is to click Reset Settings within the Setup tab of INAV.
Note: clicking Reset Settings will require completing Steps 7-9 of the Configuration Guide again.
If resetting RubiQ back to the settings that come pre-flashed to the flight controller didn’t work, you need to manually reflash her firmware.
RubiQ’s original settings can also be manually restored from the Firmware Flasher tab in INAV. To access this tab, disconnect RubiQ from INAV to access the Firmware Flasher tab from the INAV home screen:
- Download the inav1.6.2_RUBIQ_04-03-2017.hex_.zip hex file.
- In the upper left of INAV, select Full Chip Erase by sliding the toggle to the right.
- Choose Load Firmware [Local] (found towards the bottom of the Firmware Flasher tab) and select the RubiQ hex file.
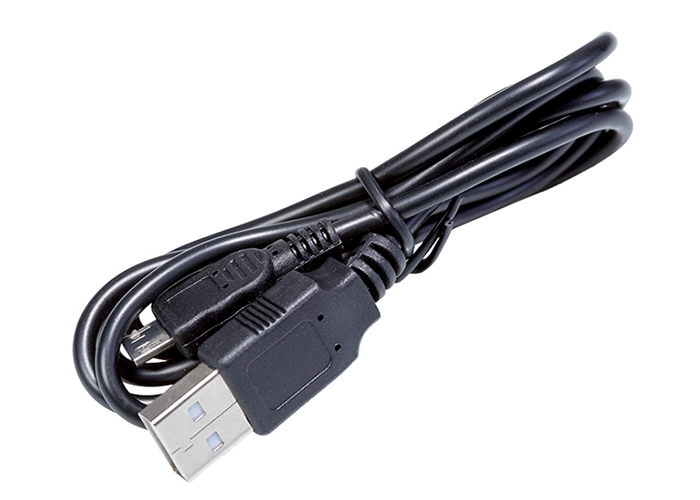
- Connect RubiQ to the computer, then click Flash Firmware to restore RubiQ’s original settings.
Once the process is complete, RubiQ will reboot.[/et_pb_text][/et_pb_column][/et_pb_row][/et_pb_section]