Back to Course
Configuration Guide: RubiQ 2.0 with Taranis X9 Lite
0% Complete
0/0 Steps
-
Download the RubiQ Configurator
-
Reset Default Configuration
-
Connect to the RubiQ Configurator
-
Step 1a. Bind the Receiver (RX)
-
Step 1b. Set the Failsafe
-
Step 2a. Verify RX Channels
-
Step 2b. Verify Failsafe
-
Step 3. Verify AUX Channel Mapping
-
Step 4. Verify Switches
-
Step 5. Verify LEDs
-
Step 6. Verify Motor Rotation
-
Step 7. Calibrate ESCs
-
Step 8. Calibrate Accelerometer
-
Step 9. Set Magnetic Declination
-
Pre-Arming Check
-
Before Going Outside
-
Flight Test
-
Post-Flight Inspection
Lesson 11 of 18
In Progress
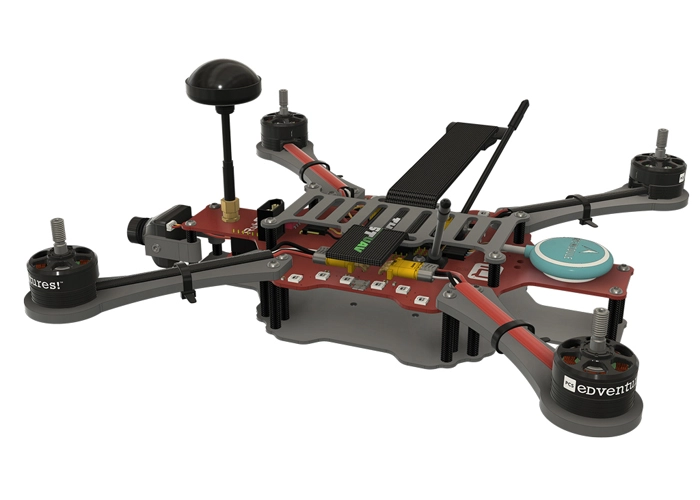
Step 6. Verify Motor Rotation
What You Need:
Steps:
Verify that your motor configuration matches the diagram below.
- Motors 1 and 4 need to have black-cabled motors.
- Motors 2 and 3 need to have red-cabled motors.
- Improperly installed motors will prevent your drone from flying.

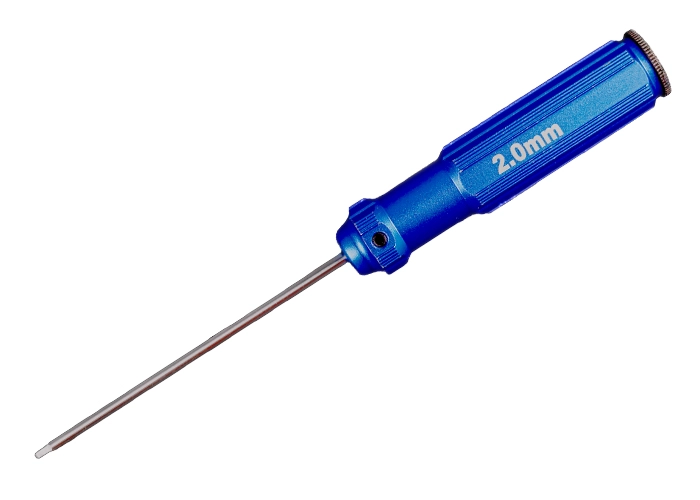
Use the 2.0mm hex driver to tighten the M3x7 motor screws connecting the motors to the motor arms.
Then, Use the 2.0mm hex driver to tighten the M3x6 screws that connect the arms to the PDB.